Archery is a sport that has been around for thousands of years, evolving from a hunting and warfare tool to a popular recreational activity today. It’s a versatile hobby that offers something for everyone. Whether you’re looking for a fun way to spend time outdoors, want to improve your concentration, or are aiming to enter competitions, archery can be a great fit.
Before you dive in, though, it’s important to understand the basics. From selecting the right equipment to learning proper techniques, there’s more to archery than just pulling back a bowstring and letting the arrow fly. This guide will walk you through all the essential aspects so you can start your archery journey on the right foot.
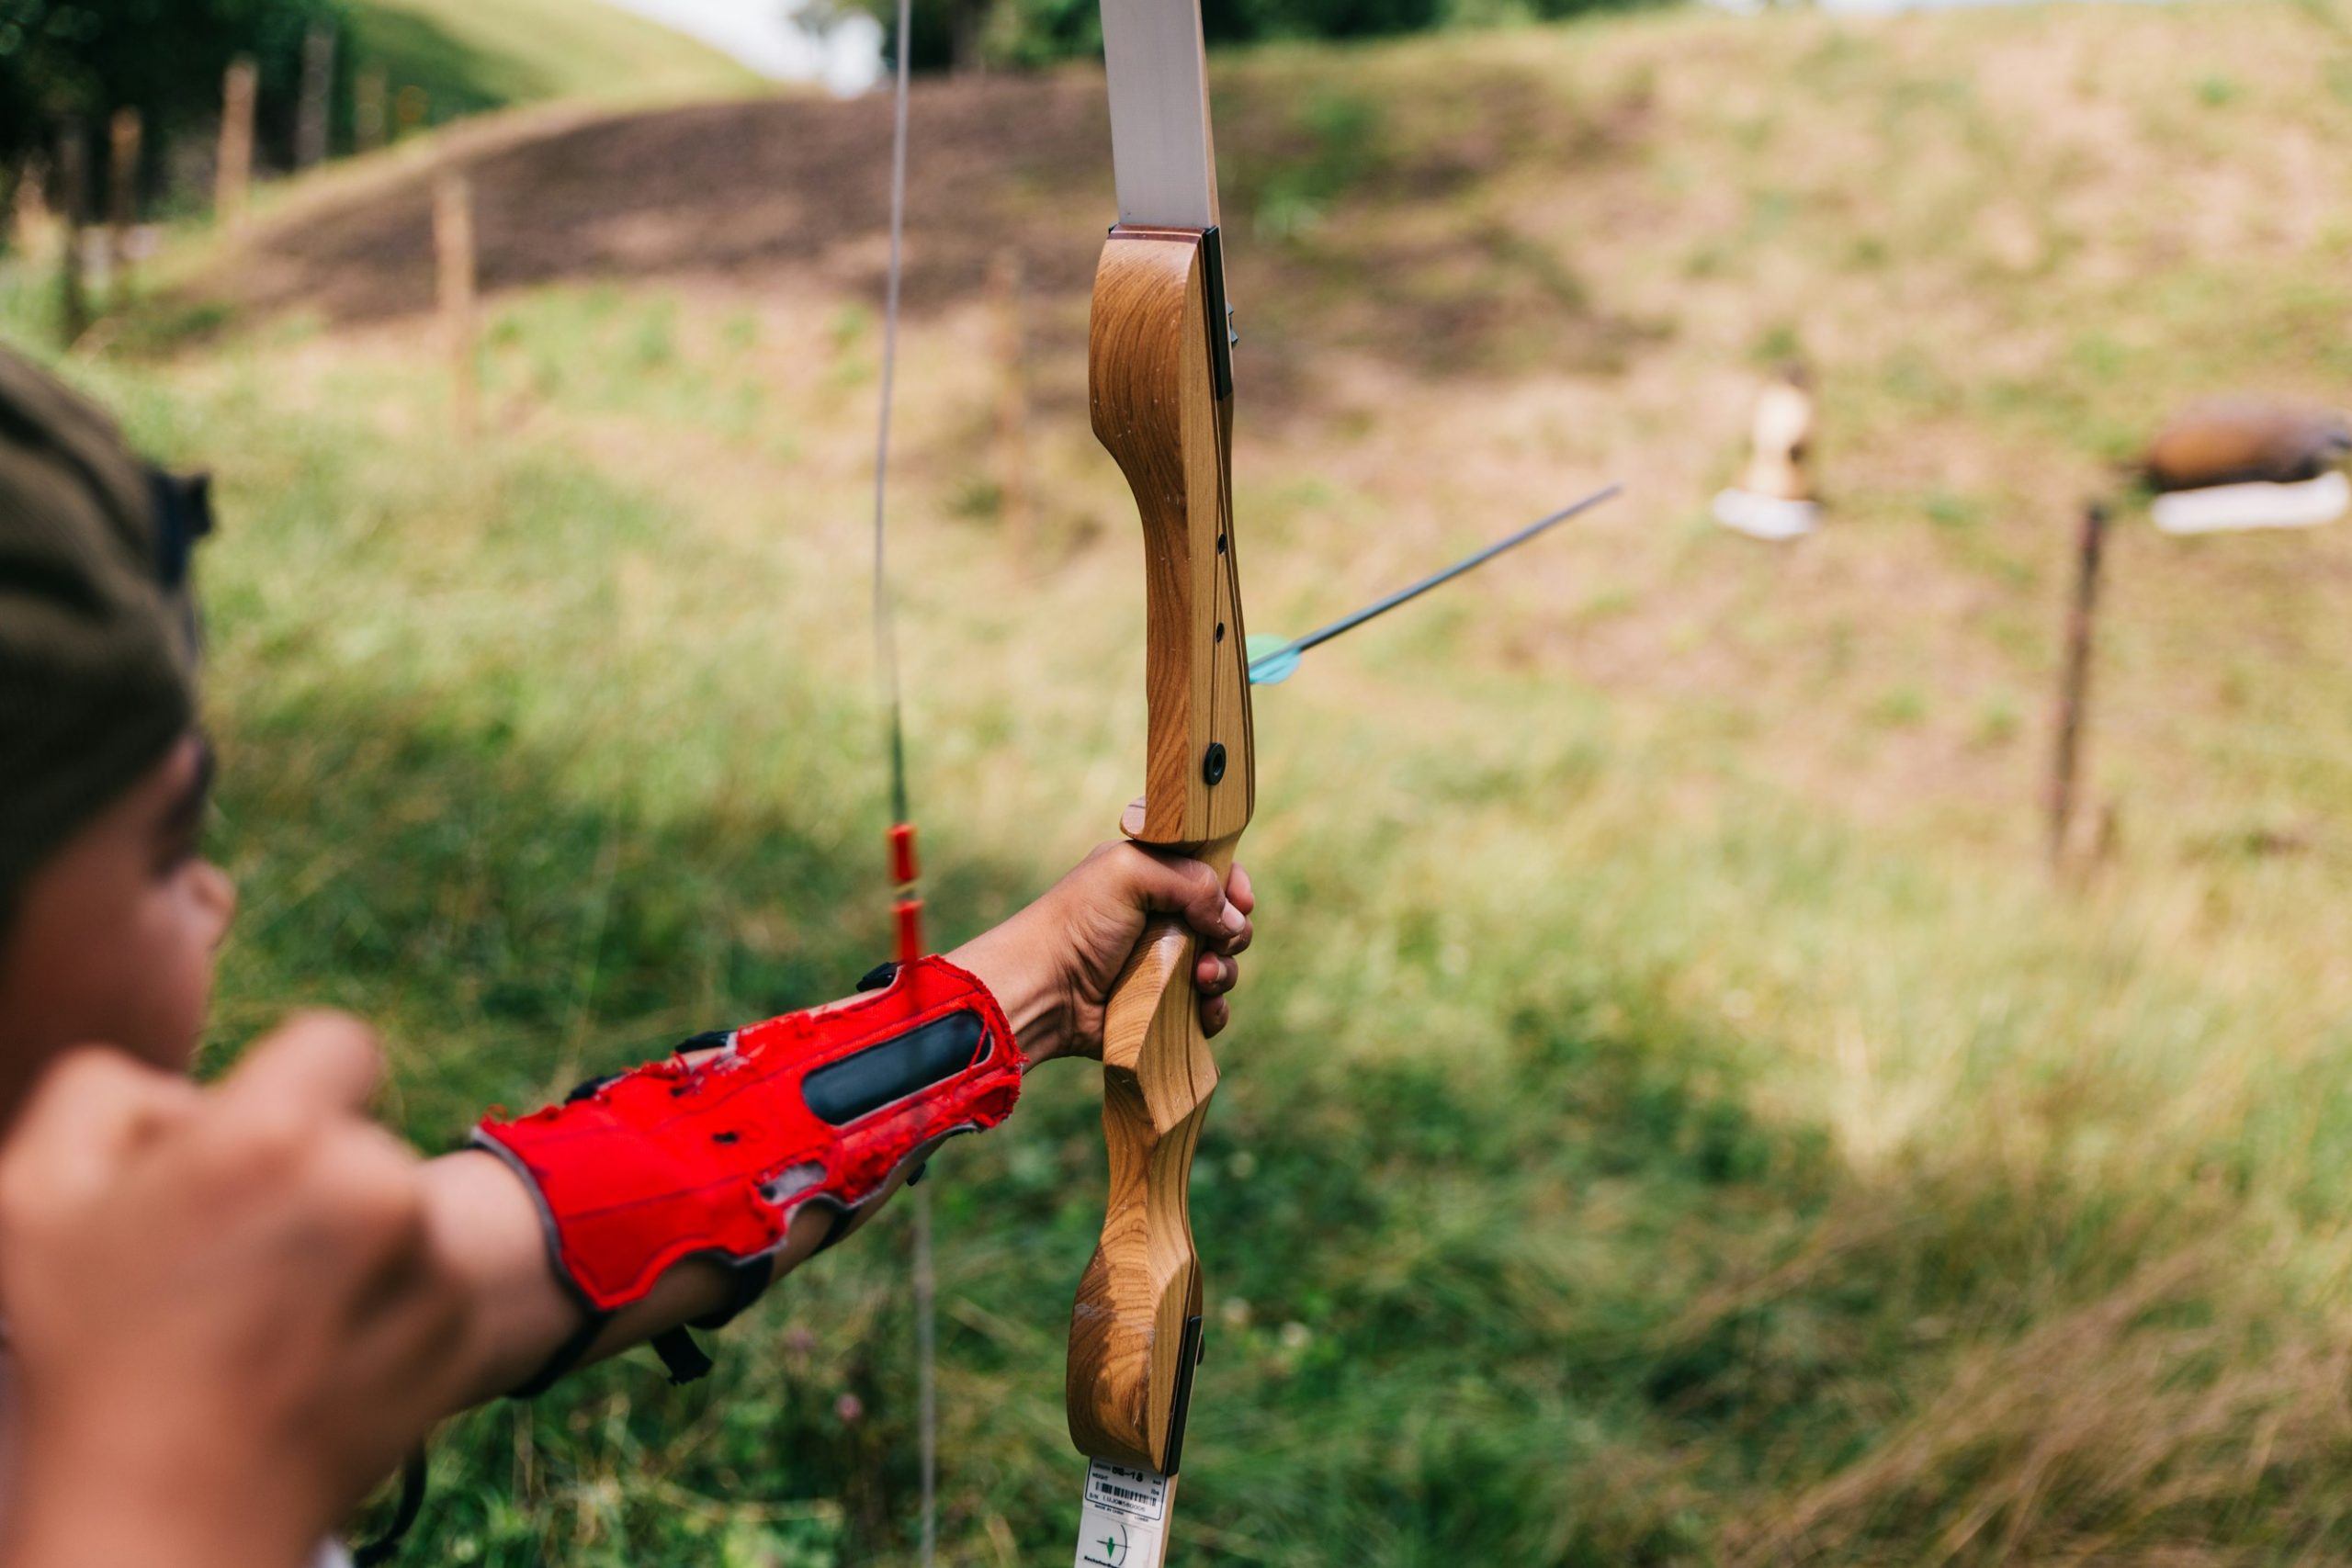
Selecting the right bow is one of the most important decisions you’ll make as a beginner archer. The bow is your main tool, and choosing one that fits your needs, strength, and skill level can make a big difference in how quickly you improve and enjoy the sport. Let’s break down the different types of bows and what you should consider before making your choice.
There are three main types of bows, each designed for different uses and skill levels:
Recurve Bow: This is the most common type of bow for beginners, and for good reason. It’s simple to use and maintain, which makes it ideal for learning basic archery skills. The recurve bow has a classic design, and its curved tips help store energy more efficiently when you draw and release the string. If you’re planning to focus on target archery, this is often the best place to start.
Compound Bow: The compound bow is a more advanced option. It uses a system of pulleys and cables to make drawing the string easier while still providing high power. Compound bows are popular for hunting and precision shooting because they offer more accuracy and require less effort to hold the string in a drawn position. While it’s a bit more complex to handle, some beginners still choose compound bows if they are interested in long-term versatility.
Longbow: If you’re drawn to tradition, the longbow is the oldest form of bow still used today. It has a simple, elegant design but lacks some of the features that make other bows easier to shoot. The longbow doesn’t have the mechanical advantages of recurve or compound bows, so it requires more skill to shoot accurately. That said, it’s perfect for those who appreciate historical archery and enjoy the challenge.
Draw weight refers to the amount of force needed to pull back the string. If you’re just starting out, it’s essential to choose a bow with a lower draw weight so you can focus on learning proper form and technique without straining your muscles. Most beginners will want to start with a draw weight between 20-30 pounds, depending on their strength and comfort level.
As you progress, you can move to a bow with a higher draw weight to shoot arrows farther or with more power.
The length of the bow is another critical factor. The size of the bow should be matched to your body height and arm span. A bow that’s too short or too long for you can make it difficult to shoot comfortably and accurately. Here’s a general guide:
Archery shops often offer bow fitting services to help you find the right length based on your measurements.
The riser is the central part of the bow that you hold, and the limbs are the flexible parts that store and release energy when you draw and shoot. Most beginner bows have a take-down design, meaning the limbs can be removed from the riser. This is useful for beginners because it allows you to upgrade or replace the limbs as your strength and skills improve without having to buy a whole new bow.
Another important detail is knowing whether you’re left-handed or right-handed. This will determine which bow you need. A right-handed archer holds the bow in their left hand and draws the string with their right, while a left-handed archer does the opposite. Most bows are available in both left- and right-handed models, so make sure you choose one that suits your dominant hand.
Bows come in a wide range of prices, from affordable starter kits to high-end models used by professional archers. When you’re just getting started, it’s a good idea to go for a reasonably priced, entry-level bow. These bows will give you everything you need to learn without overwhelming your budget. Once you gain more experience, you can invest in higher-quality equipment if needed.
Choosing the right bow can be overwhelming with so many options out there. To make things easier, I’ve put together a list of beginner-friendly bows that stand out for their ease of use, affordability, and overall performance. These are my personal recommendations, based on what I’ve found to work best for new archers.

The Samick Sage is a favorite among beginner archers for several reasons. It’s a takedown recurve bow, meaning you can easily detach the limbs from the riser. This feature is fantastic for growing with your skills—start with lower poundage limbs and upgrade them as you get stronger.
From a personal view, I found this bow incredibly smooth to shoot. It’s well-balanced in hand, and the wooden riser gives it a classic, comfortable feel. The draw weight starts as low as 25 lbs, making it perfect for beginners who are still building up strength. The bow is also super affordable, and the fact that you can swap out limbs means you won’t need to replace the whole thing as you progress. The Samick Sage really delivers on durability and quality without breaking the bank. 🏹
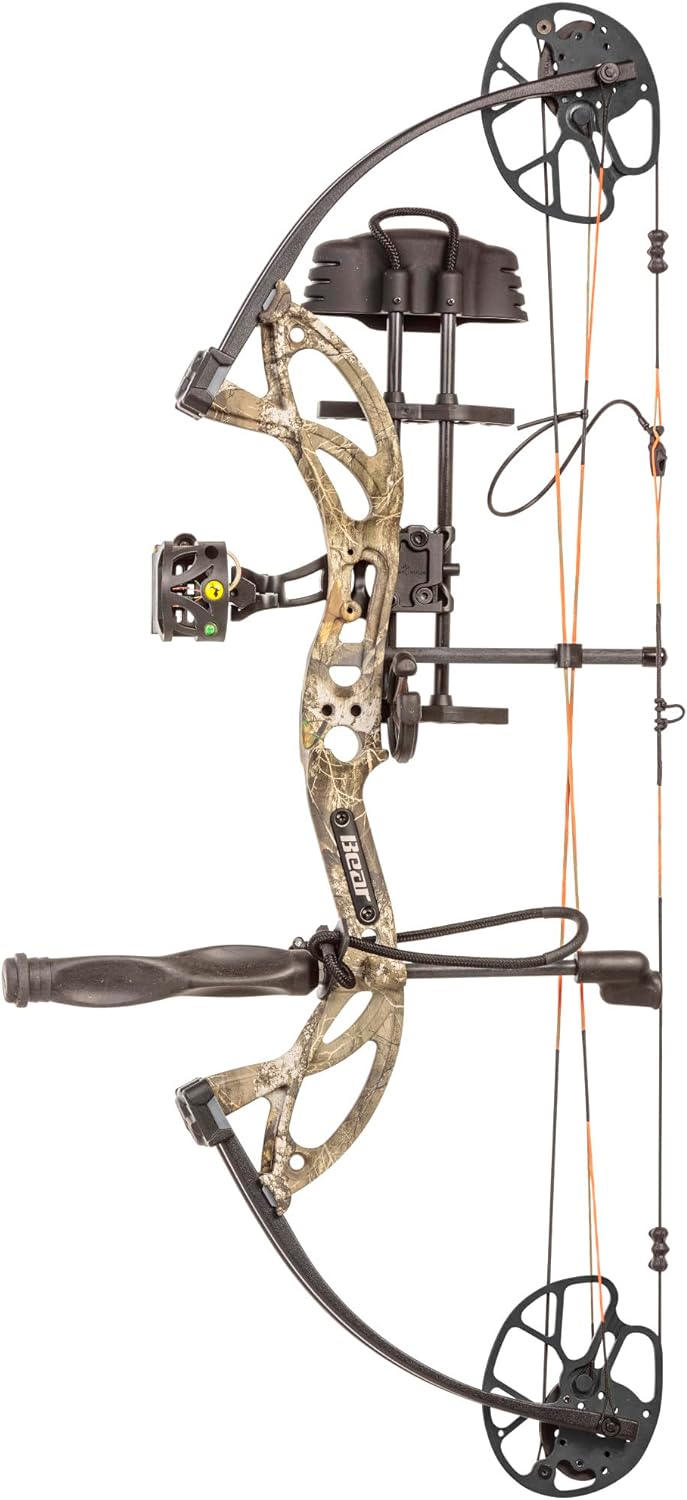
If you’re interested in trying a compound bow, the Bear Archery Cruzer G2 is an excellent choice. It’s designed with beginners in mind, offering a highly adjustable draw weight range (from 5 to 70 lbs!) and a draw length adjustment from 12 to 30 inches. This means the bow can be customized to suit almost any archer, no matter your size or strength level.
What I love about the Cruzer G2 is how forgiving it is for new archers. Even though it’s a compound bow, which can be more technical, the adjustments make it easy to get started without feeling overwhelmed. I also found the bow’s smooth draw and comfortable grip helpful for longer practice sessions. You can use it for both target shooting and hunting, so if you’re looking for a versatile bow, this one really delivers.
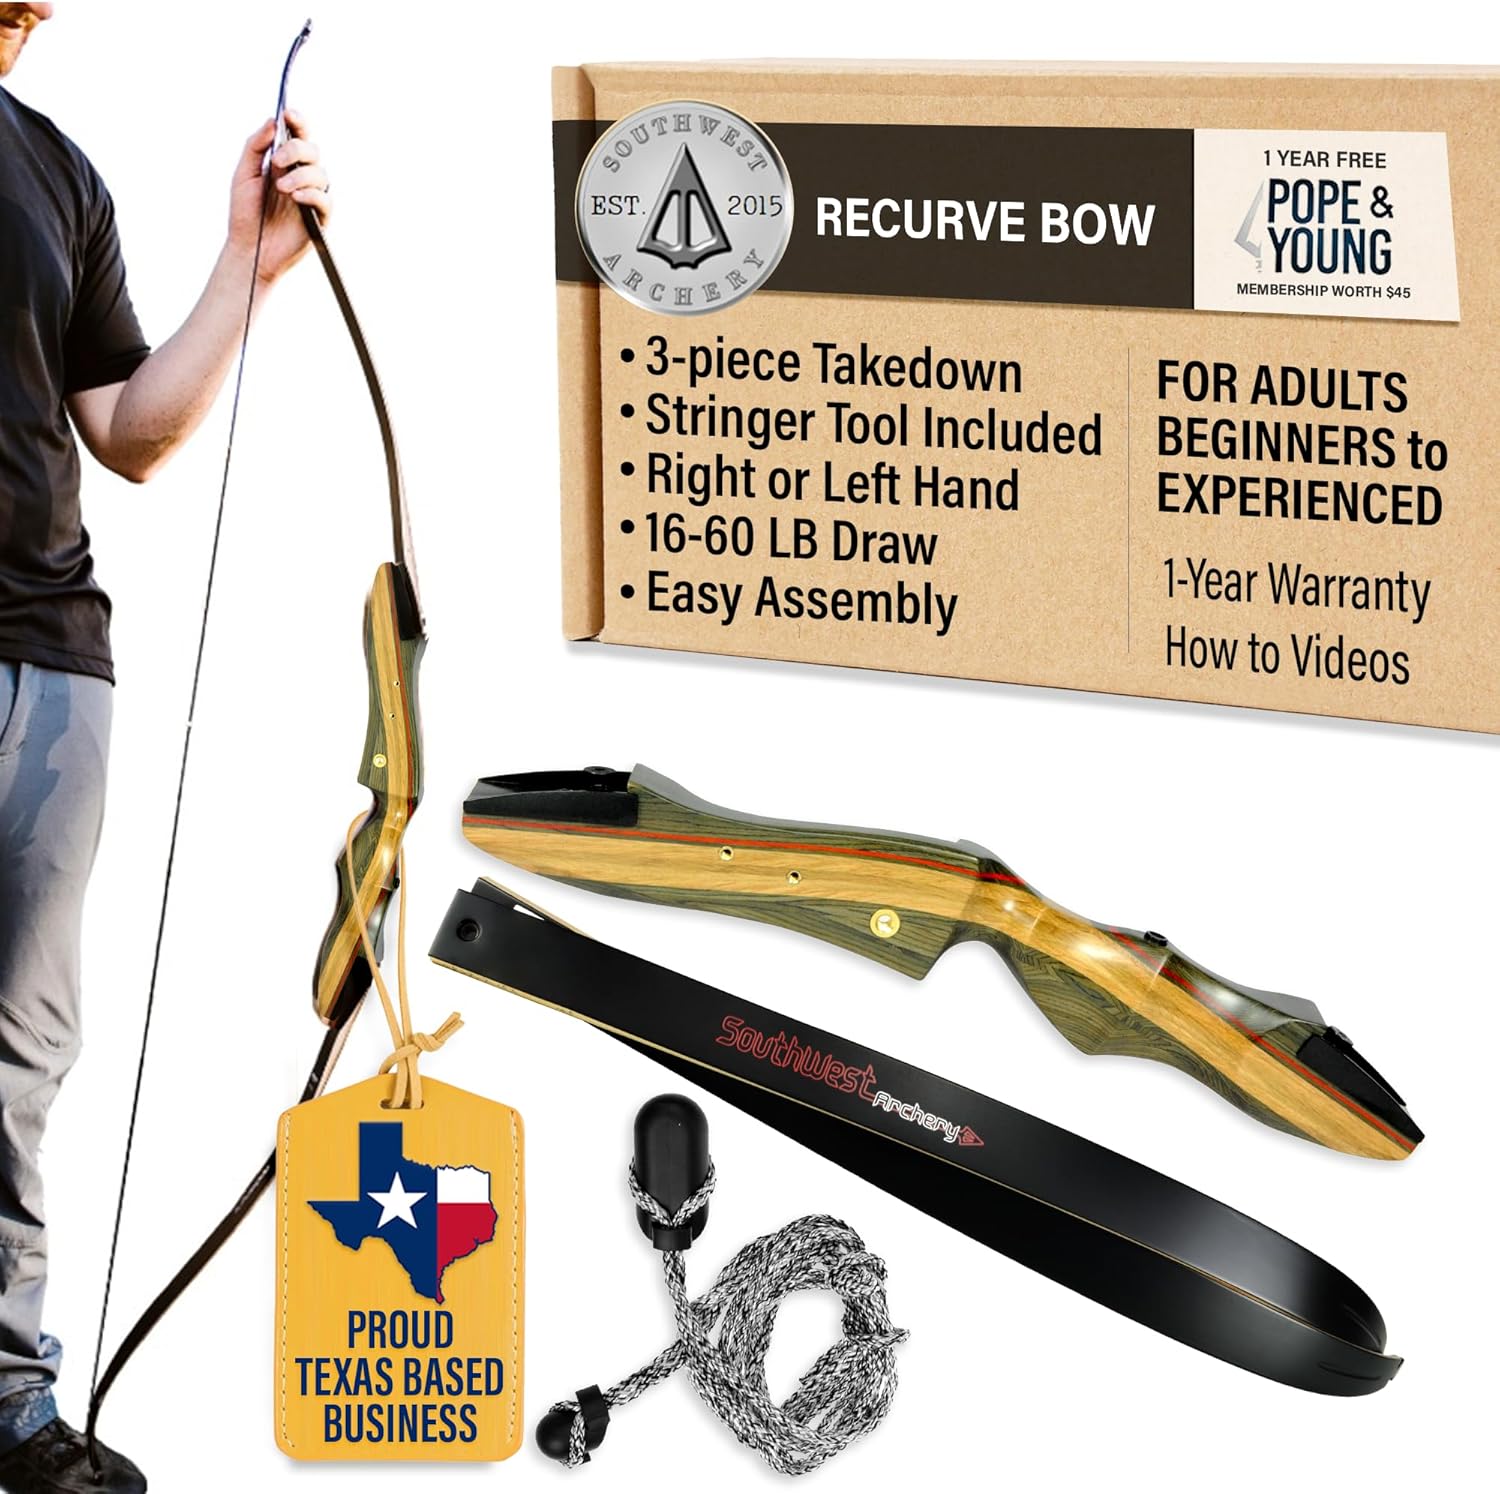
The Southwest Archery Spyder is often compared to the Samick Sage, but with some improvements that make it a strong competitor for beginners. It’s also a takedown bow, meaning the limbs can be swapped out as you grow. The design is sleek, with a lightweight riser made from a blend of different woods, giving it both durability and a stylish look.
From personal experience, I found the Spyder to be slightly lighter than the Samick Sage, which makes it a bit more comfortable to hold for long periods. The draw is smooth, and it’s a very quiet bow, which is a nice bonus when practicing in quieter environments. It’s beginner-friendly, but it also has enough performance to satisfy intermediate archers, so you won’t feel the need to upgrade too soon. The Spyder is a solid all-around bow that’s easy to assemble and use.

The PSE Nighthawk is another excellent choice for beginners who prefer recurve bows. It’s a takedown bow like the others, but what sets it apart is its sleek black finish and more aggressive design, which can be appealing if you’re looking for something with a modern look.
When I shot the Nighthawk, I was impressed by its accuracy and how well it handled. The bow is quiet and delivers smooth shots, which is important when you’re learning. It also comes with multiple draw weight options, starting at 20 lbs, which is perfect for beginners. While it’s slightly more expensive than some other beginner models, the PSE Nighthawk is well worth the investment for its high quality and excellent performance.
These four bows are ideal for beginners and each offers unique features that can suit different needs. Whether you’re interested in target shooting or want to move into hunting, these bows are reliable, easy to use, and won’t overwhelm you as a new archer.
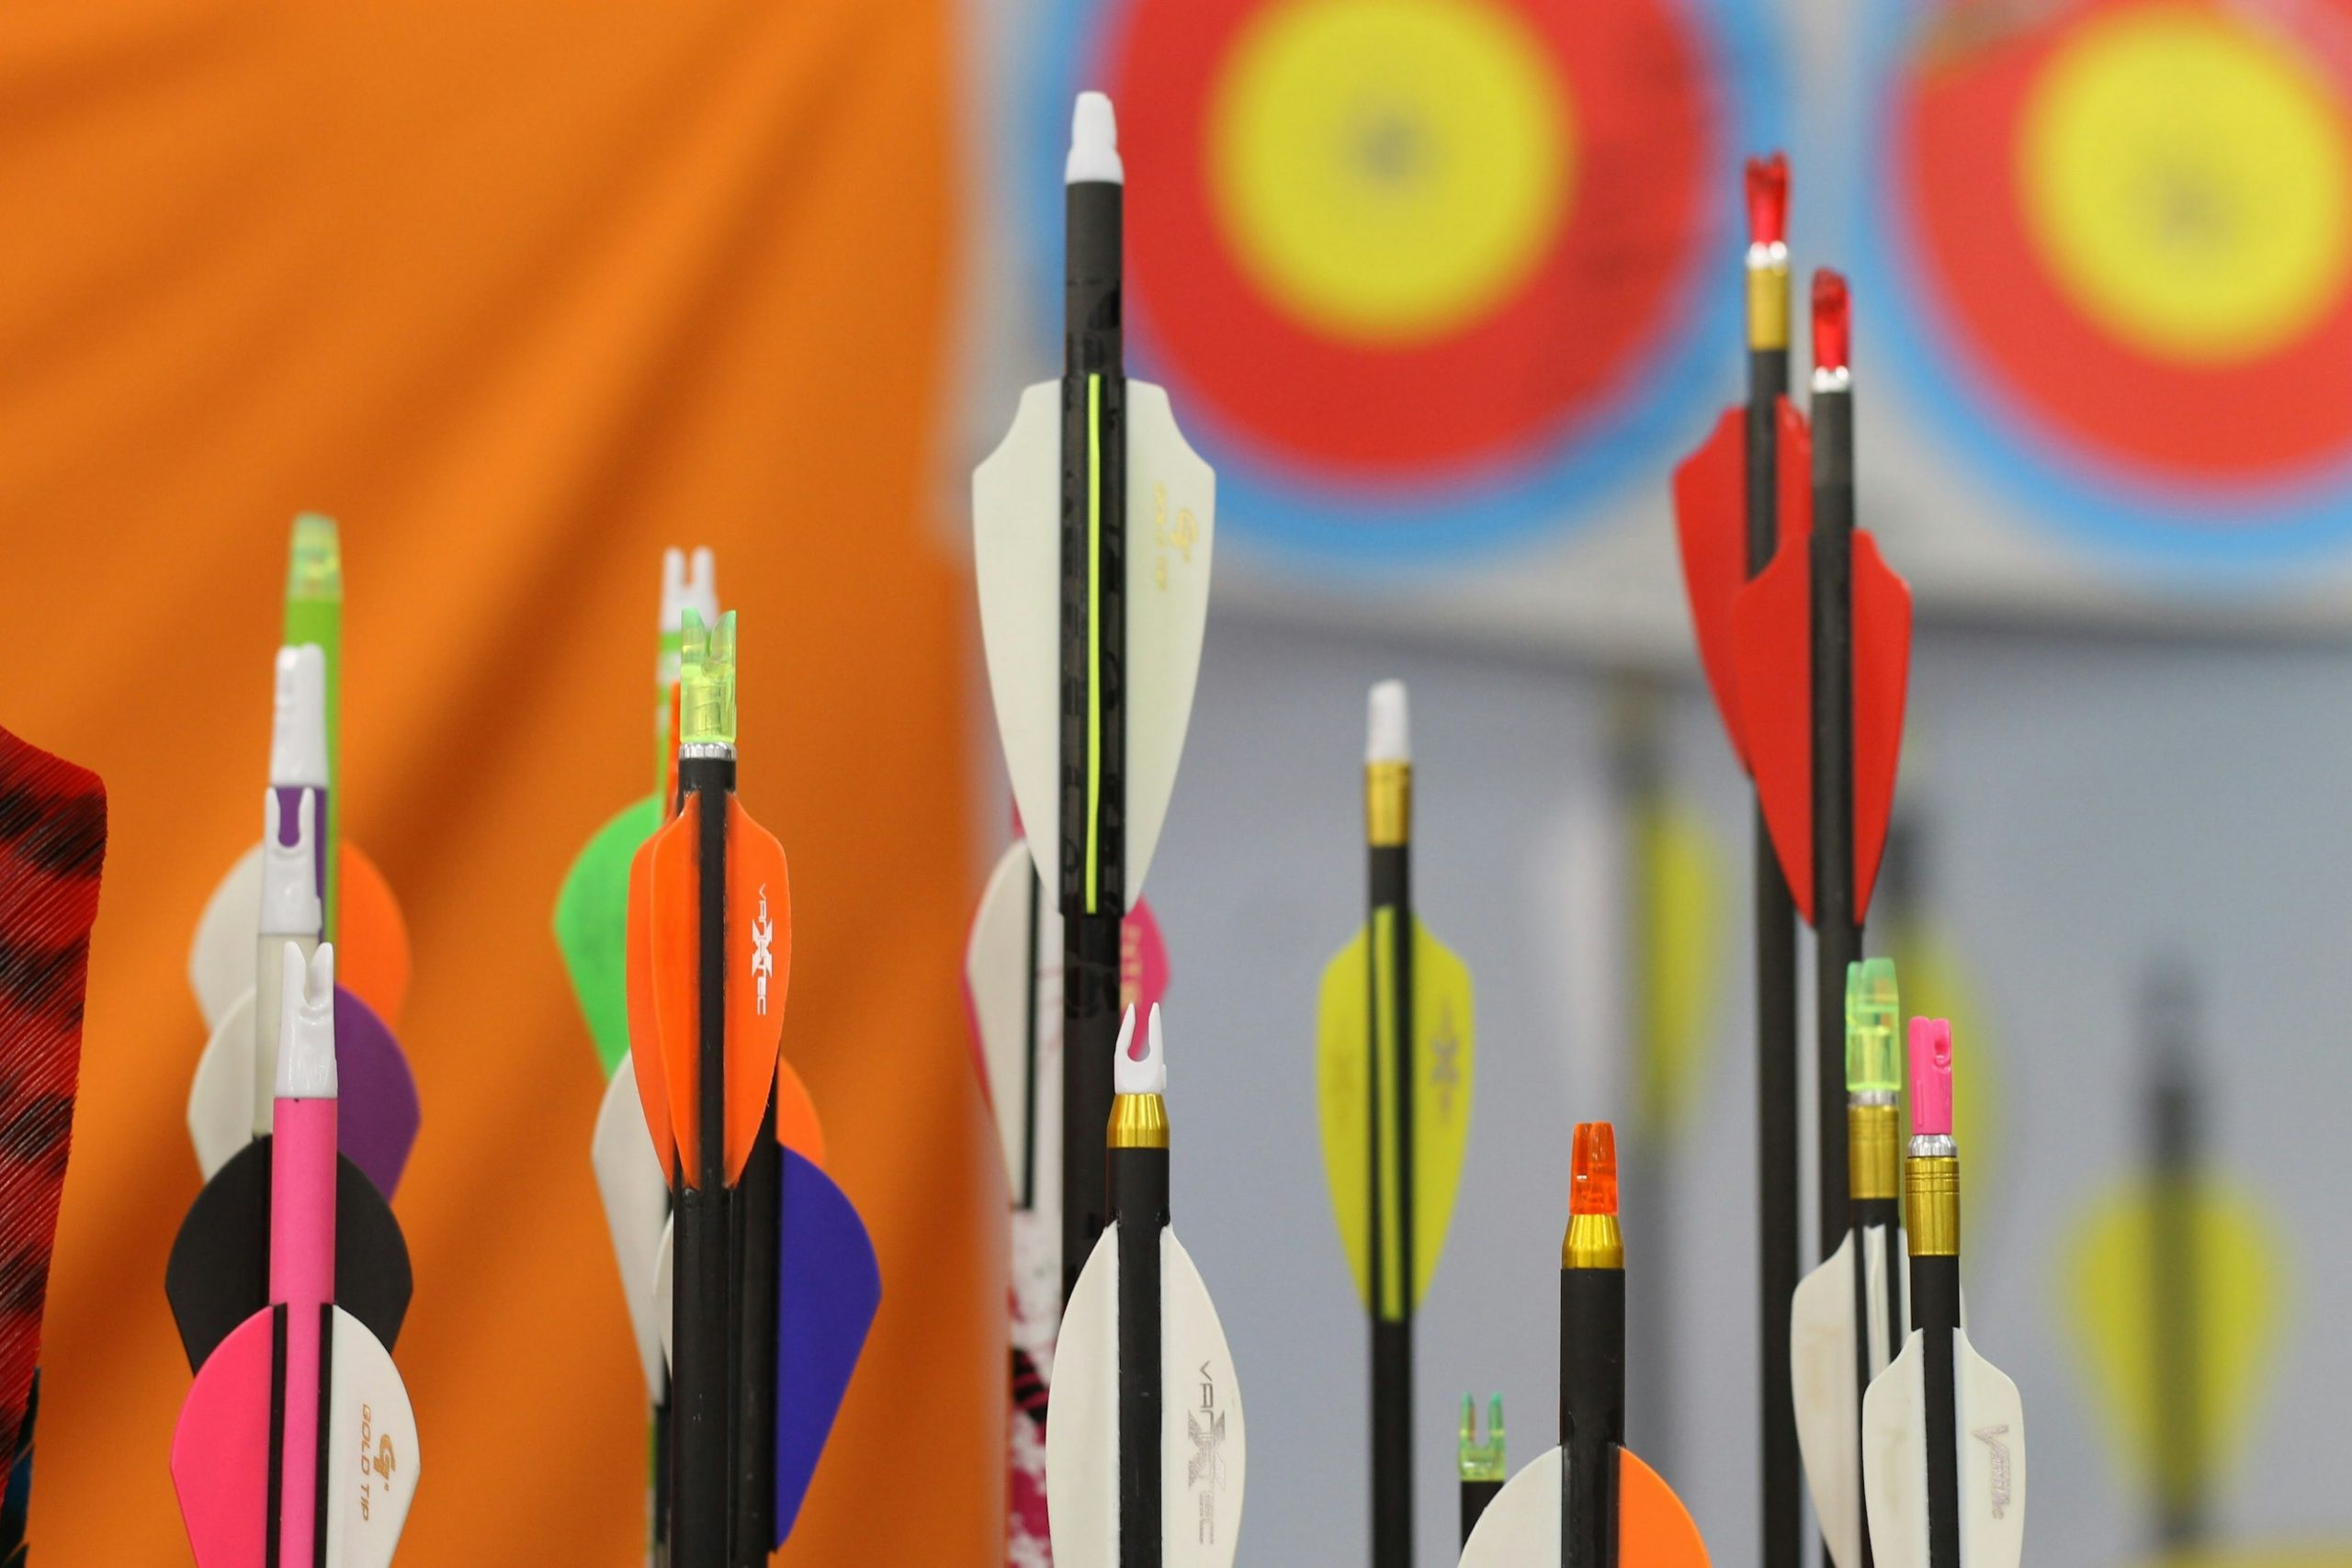
Choosing the right arrows is just as important as selecting the right bow. Arrows come in a variety of materials, lengths, and designs, all of which can affect your shooting experience and accuracy. Here’s a detailed breakdown of what you need to consider when selecting arrows as a beginner.
The material of your arrows plays a huge role in how they perform. There are three main types of arrow materials you’ll encounter:
Wood: The classic material, often used in traditional archery with longbows or recurve bows. Wooden arrows are affordable and have a nostalgic, historical feel to them. However, they are prone to warping over time, especially if they get wet or are stored improperly. Wooden arrows can also break more easily compared to other materials, so they may not last as long. For beginners, wood is a good option if you’re interested in traditional archery, but be mindful of the upkeep.
Aluminum: Aluminum arrows are lightweight, durable, and a popular choice for beginners. They offer good consistency in weight and straightness, which can improve accuracy. Aluminum arrows are less likely to warp compared to wood, and they tend to be more affordable than carbon arrows. In my experience, these arrows are a solid middle ground—great for both target practice and recreational shooting.
Carbon: If you’re serious about precision and performance, carbon arrows are the way to go. They are the lightest and strongest option available, making them highly accurate and durable. Carbon arrows maintain their shape well and deliver consistent performance, but they come at a higher price point. For beginners who plan to stick with archery long-term or eventually transition to hunting, investing in carbon arrows can be a great decision.
Arrow length is critical for both safety and accuracy. Arrows that are too short can be dangerous, as you might pull the arrow past the bow’s riser, leading to potential injury or equipment damage. On the other hand, arrows that are too long can affect the flight and overall balance of the arrow, reducing accuracy.
The best way to determine the proper arrow length for you is to measure your draw length. Here’s how to do it:
Once you know your draw length, you can choose arrows that match. Typically, arrows should be about 1-2 inches longer than your draw length for safety and ease of use.
The “spine” of an arrow refers to how flexible it is. Arrows need to have the right balance of stiffness and flexibility to shoot accurately, depending on the draw weight of your bow. The spine of the arrow allows it to flex when released, so it can pass cleanly around the bow handle before stabilizing in flight.
Choosing the correct spine rating is crucial to ensuring that your arrows fly straight and true. Many arrows come with the spine rating labeled, and it’s always a good idea to match this rating to your bow’s draw weight.
Fletchings are the feathers or plastic vanes at the back of the arrow that help it fly straight by stabilizing it in the air. There are two main types of fletchings: feathers and plastic vanes.
Feathers: Traditional archers often prefer natural feather fletchings. They offer excellent control in the air and are lightweight. However, feathers can be more delicate and can wear down quicker, especially in rainy conditions.
Plastic Vanes: More durable than feathers and commonly used for both indoor and outdoor target practice. They are resistant to weather conditions and last longer, making them a popular choice for beginner archers.
The size and shape of the fletchings also matter. Larger fletchings (around 4-5 inches) are great for stabilizing heavier arrows, while smaller ones (2-3 inches) offer better speed and performance, especially at longer distances.
The arrow tip is the part that makes contact with the target, and different types of tips are designed for different activities:
Field Points: These are the most common tips used in target practice. They are small and pointed, making them ideal for shooting into foam or straw targets. They are also easy to remove from the target.
Broadheads: These are sharp, bladed tips used for hunting. They are designed to cause maximum damage upon impact, but they are not suitable for target practice. Beginners should avoid broadheads until they are ready for hunting.
Blunt Tips: These tips are used for shooting at small game or stump shooting (shooting at tree stumps or similar targets). They are flat and designed to hit with impact without penetrating deeply.
The nock is the small piece at the back of the arrow that clips onto the bowstring. It may seem minor, but it plays a crucial role in making sure your shots are consistent. The nock ensures that the arrow is aligned correctly with the bowstring and prevents it from falling off while drawing the bow.
Most nocks are made of plastic and come in different sizes to fit various arrow shafts. It’s important to ensure the nock fits snugly onto your bowstring—not too tight and not too loose.
The arrows you choose can make a huge difference in your archery experience. For beginners, it’s best to start with affordable, durable arrows that match your bow’s draw weight and your personal needs. As you improve, you can explore different materials, lengths, and tips to fine-tune your setup. Remember that consistency is key in archery, so having arrows that complement your bow and shooting style will help you progress faster and hit your targets more accurately.
Choosing the right arrows can be a game-changer for your archery journey. Here are four arrows I personally recommend for beginners. Each offers something unique, whether it’s durability, accuracy, or affordability. Let’s take a closer look at these options.
The Easton Genesis Arrows are a fantastic choice for beginners, especially if you’re using a recurve or compound bow. These arrows are made from lightweight and durable aluminum, which makes them easy to handle and perfect for target shooting. What I personally love about these arrows is how consistent they are. Whether you’re shooting from 10 yards or 30 yards, the flight is stable, and they hit the target accurately every time.
Another big plus is that they come pre-fletched with durable plastic vanes and nocks, so they’re ready to use straight out of the box. They’re also compatible with the popular Genesis bow, which many beginners start with. These arrows are affordable, reliable, and can take a beating without losing their straightness—ideal for the frequent practice sessions every beginner should have. 🏹
If you’re looking for something a bit more advanced, the Gold Tip Warrior Carbon Arrows are an excellent step up. These carbon arrows offer more durability and performance than aluminum ones. The thing that stands out most for me is their light weight, which gives them incredible speed and accuracy without compromising strength.
These arrows are perfect for someone who’s planning to stick with archery long-term. They come with adjustable nocks, which is a huge plus if you’re fine-tuning your setup. I’ve found them to be consistent in flight, and their durability means they can withstand a lot of use. While they are a bit pricier than basic aluminum arrows, they’re a great investment for beginners looking to improve their accuracy and performance.
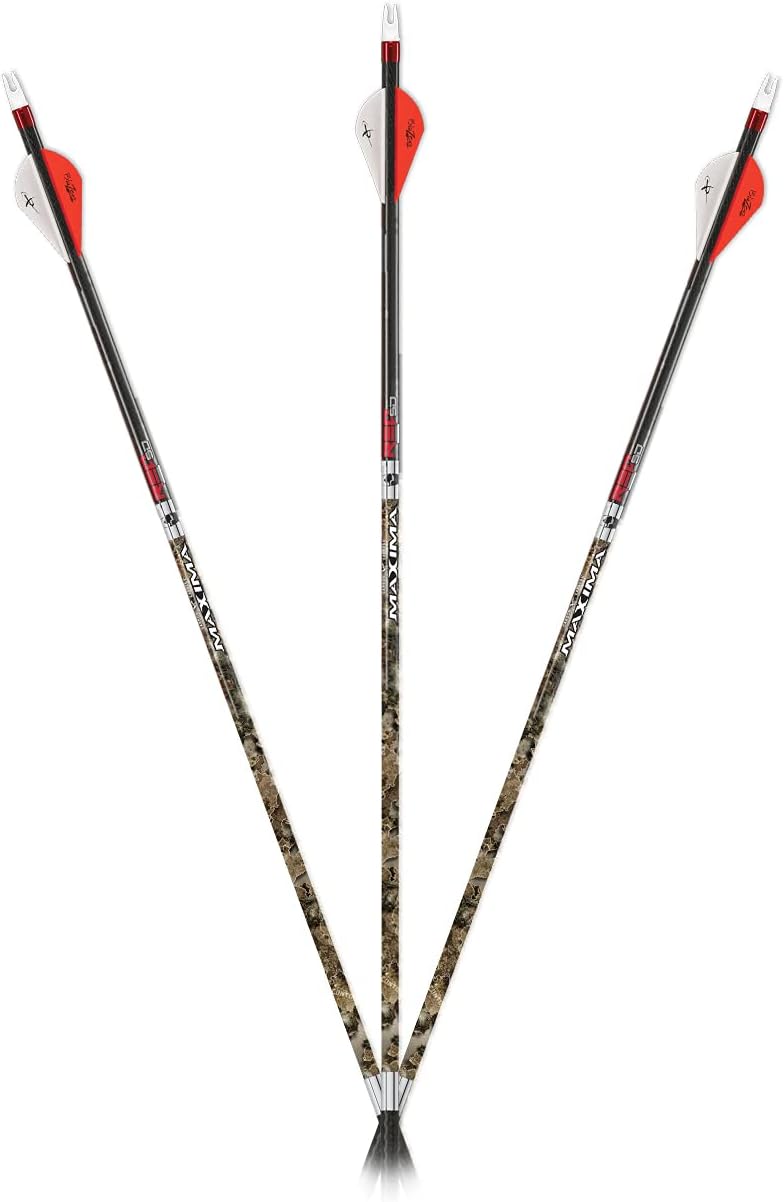
The Carbon Express Maxima Red is one of the best arrows for those who want to push their skills further. These arrows are designed with advanced carbon technology that helps control the dynamic spine of the arrow, which essentially means they fly straighter with less effort.
From my experience, these arrows are extremely consistent, especially over longer distances. What I found most impressive is how forgiving they are. Even if your form isn’t perfect, the Maxima Red arrows will still fly true, which is great for beginners still working on their technique. While they are more expensive than most beginner arrows, the performance and quality are undeniable, making them worth every penny if you’re serious about archery.
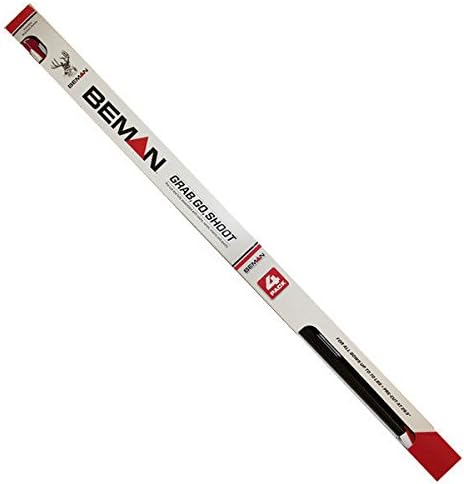
For beginners who might be thinking about transitioning into bowhunting, the Beman ICS Bowhunter Arrows are a great choice. These arrows are made from durable carbon and are designed to handle both target practice and hunting scenarios. One thing I noticed about these arrows is their strong build quality. They can take a beating without bending or breaking, making them perfect for anyone who plans to practice regularly.
The Beman ICS arrows also feature tight tolerances, which means they’re highly accurate. I’ve found them easy to tune with different bows, and they perform well with both field points and broadheads. This versatility makes them ideal for beginners who are interested in learning all aspects of archery, from target shooting to bowhunting.
These four arrows are all excellent choices for beginners, offering a balance of performance, durability, and price. Whether you’re looking for a simple aluminum arrow to get started with target shooting or a more advanced carbon arrow for long-term use, these options will help you hit the target more accurately and consistently.
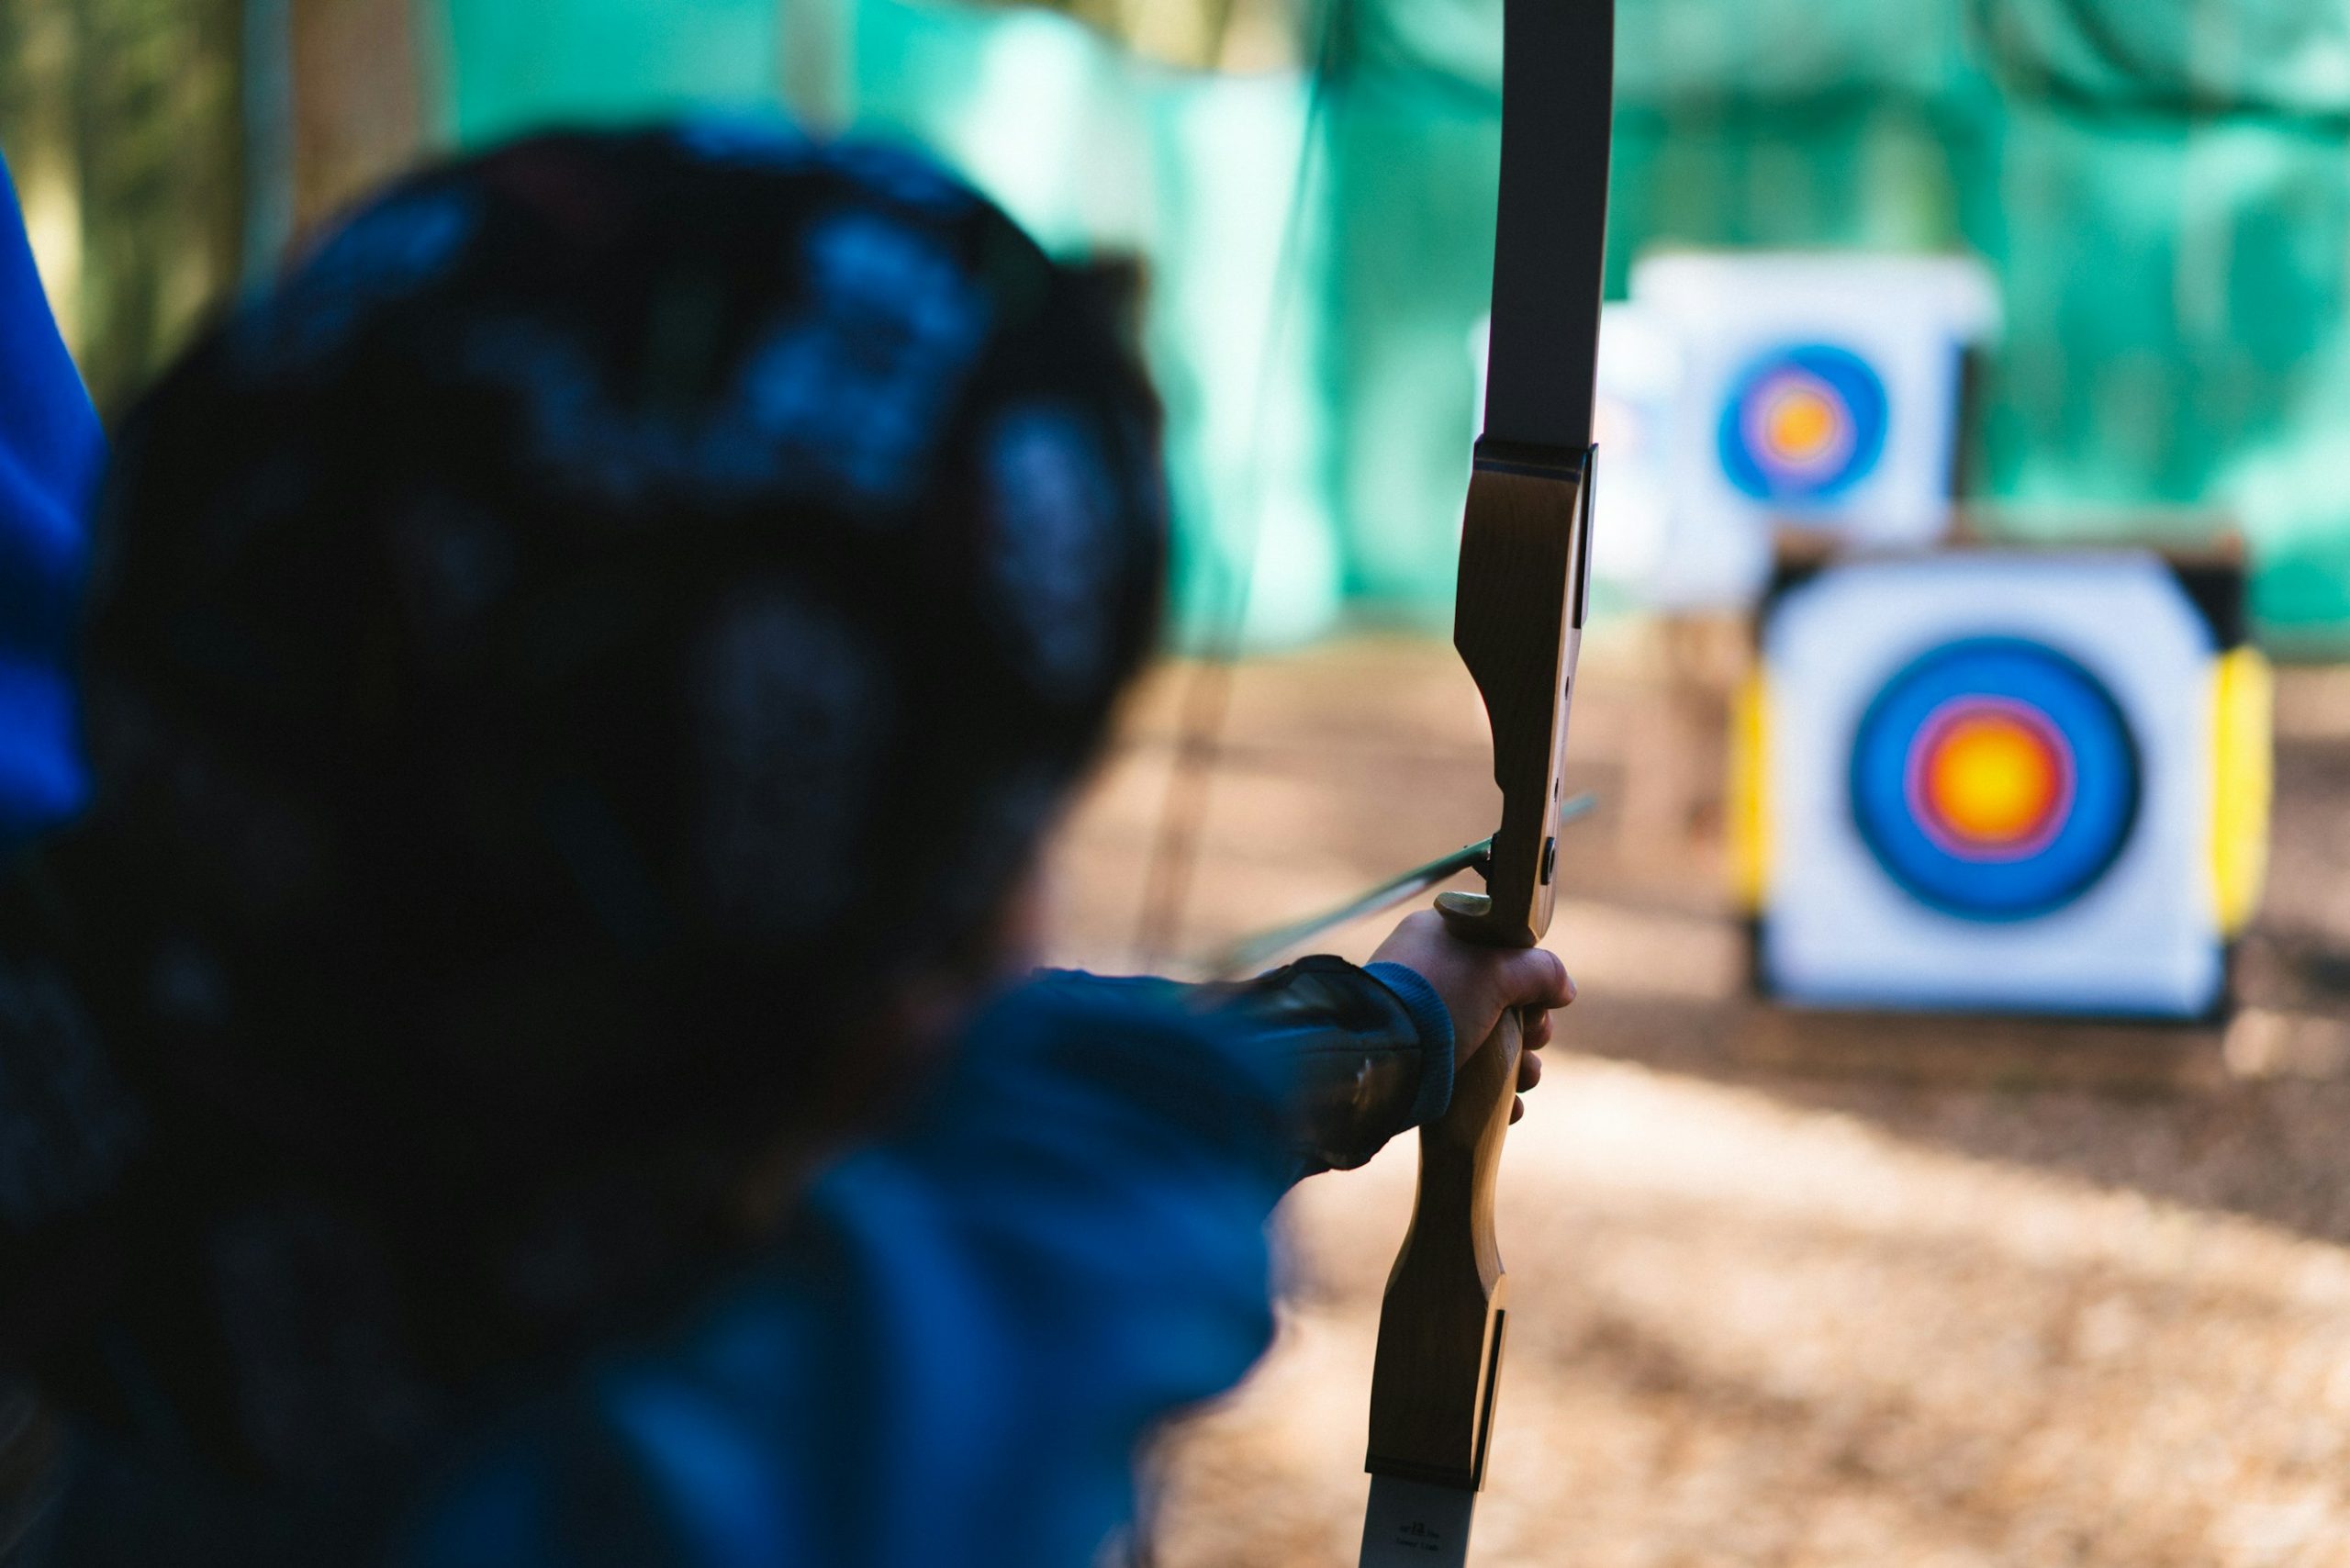
Archery is more than just a bow and arrows—there are a few key accessories that can make your experience smoother, safer, and more enjoyable. As a beginner, having the right accessories will help you focus on developing your skills without worrying about discomfort or equipment failure. Let’s break down some of the most important accessories and why you should consider using them.
The arm guard is one of the most essential accessories for beginners. It’s designed to protect your forearm from the bowstring when you release an arrow. For many new archers, one of the most common experiences is getting a “string slap,” which can be painful and even cause bruising.
Personally, I’ve found that having a good-quality arm guard makes a huge difference, especially when you’re still working on perfecting your form. Even as your technique improves, having an arm guard gives you peace of mind. Look for one that is adjustable and made of durable materials like leather or plastic. Arm guards are available in different lengths, so choose one that provides full coverage of your forearm without limiting your movement.
Your fingers will take a lot of pressure from drawing the bowstring repeatedly, which can cause soreness or even blisters. That’s where a finger tab or archery gloves come in handy. A finger tab is a small piece of leather or synthetic material that protects your fingers from the strain of pulling the string, while gloves provide full protection for your drawing hand.
I personally prefer finger tabs because they allow for more finger flexibility and control. They come in single-piece designs that are easy to slip on and off, and some even have adjustable straps for a snug fit. However, archery gloves provide more coverage and might be more comfortable for some archers, especially those with sensitive hands. Whichever option you choose, make sure it’s comfortable and durable enough to withstand repeated use.
A quiver is a must-have for any archer, as it holds your arrows and keeps them organized during practice or competitions. There are several types of quivers, each designed for different preferences and situations:
From my experience, I prefer a hip quiver when practicing at the range because it’s easy to access arrows quickly and doesn’t get in the way when moving. Back quivers are fantastic for those who enjoy more traditional archery or plan to shoot while walking in the field.
A bow stringer is an important tool for safely stringing and unstringing a recurve or longbow. Using a bow stringer ensures that the tension is evenly distributed when putting on or taking off the bowstring, preventing damage to both the bow and the string.
When I first started archery, I tried stringing my bow without a stringer, and I quickly learned how difficult (and dangerous) it can be. A bow stringer makes the process so much easier and safer, especially for beginners. It’s a simple tool made of a strong cord with leather or rubber pockets at the ends, and it’s worth every penny for the convenience it offers.
A bow sight is an accessory that attaches to your bow and helps you aim more accurately by providing a visual reference point. It’s especially useful for beginners still learning how to aim consistently. There are different types of bow sights:
From personal experience, a fixed pin sight is an excellent starting point. It simplifies aiming, making it easier to develop your shot consistency. As you improve, you may want to explore adjustable sights for more precise control, especially if you plan to shoot at different ranges.
A stabilizer is an optional accessory, but many beginners find it helpful for improving their accuracy and balance. It’s a long rod that attaches to the front of your bow, adding weight and helping to reduce vibration when you release the arrow. This results in steadier shots and less hand shock.
When I started using a stabilizer, I noticed a marked improvement in my stability, especially during longer practice sessions. The extra weight might feel strange at first, but it helps keep the bow more balanced when aiming and reduces the movement of your bow hand after the shot. If you’re struggling with consistency or accuracy, a stabilizer is definitely worth considering.
The arrow rest is a small device that supports your arrow as it rests on the bow before you shoot. A well-made arrow rest improves accuracy by keeping the arrow steady and in the correct position when you draw the string. There are a few different types of rests:
In my experience, a simple fixed arrow rest works perfectly for beginners. It’s easy to install and doesn’t require much maintenance. As you gain more experience and focus on precision shooting, you can upgrade to a more advanced option like a drop-away rest.
Having the right accessories can make a huge difference in your archery experience, especially as a beginner. They not only help with comfort and safety but also improve your shooting consistency and accuracy. Start with the basics like an arm guard and finger tab, and gradually explore other accessories like sights and stabilizers as your skills develop. These small investments will enhance your practice sessions and help you enjoy the sport even more.
Now that we’ve covered the essential accessories, here are four products I highly recommend for beginners. These accessories offer great value, durability, and comfort, ensuring that your archery practice is smooth and enjoyable.
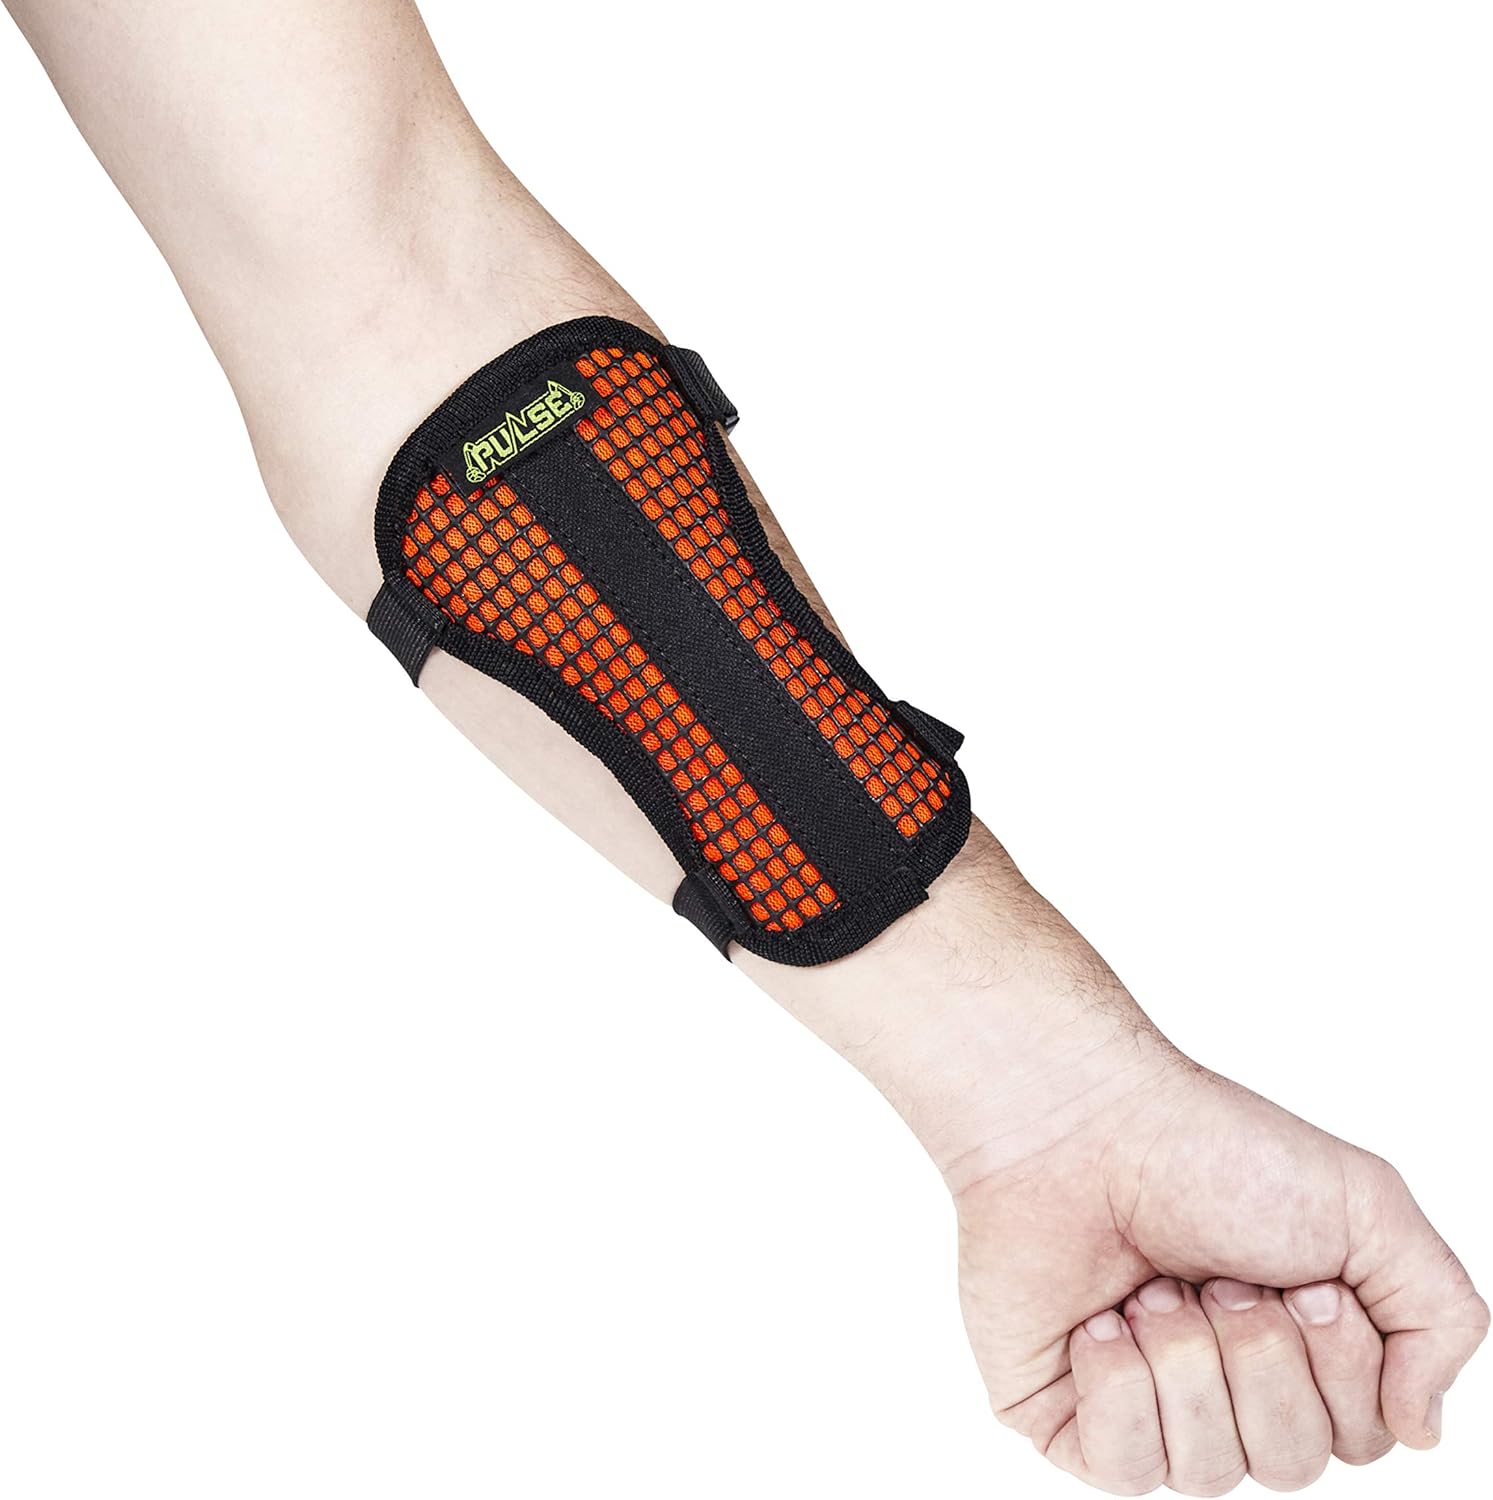
The Allen Company Mesh Arm Guard is an excellent choice for beginners looking for solid protection without sacrificing comfort. Made from breathable mesh, it keeps your arm cool during long practice sessions while protecting you from painful string slaps. The adjustable straps allow it to fit securely on your arm without restricting movement.
From my experience, this arm guard strikes a perfect balance between protection and breathability. It’s lightweight, which is great for beginners who are getting used to wearing accessories. Plus, it’s affordable and durable enough to last through plenty of practice sessions. Whether you’re practicing in hot weather or indoors, this arm guard is a great companion.
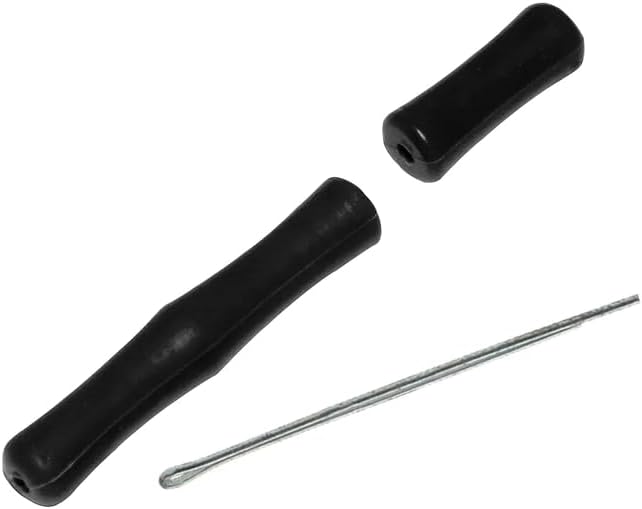
For finger protection, I recommend the OMP Adventure 2.0 Finger Tab. It’s a simple yet effective accessory that helps protect your fingers from the pressure of the bowstring. Made from quality leather, it provides comfort and durability, ensuring your fingers don’t suffer from blisters or soreness after shooting multiple arrows.
What I appreciate about this tab is how comfortable it feels right from the start. The leather softens over time, conforming to your hand, making it even more comfortable the more you use it. It’s also very affordable, making it perfect for beginners who don’t want to spend too much but still want quality protection.
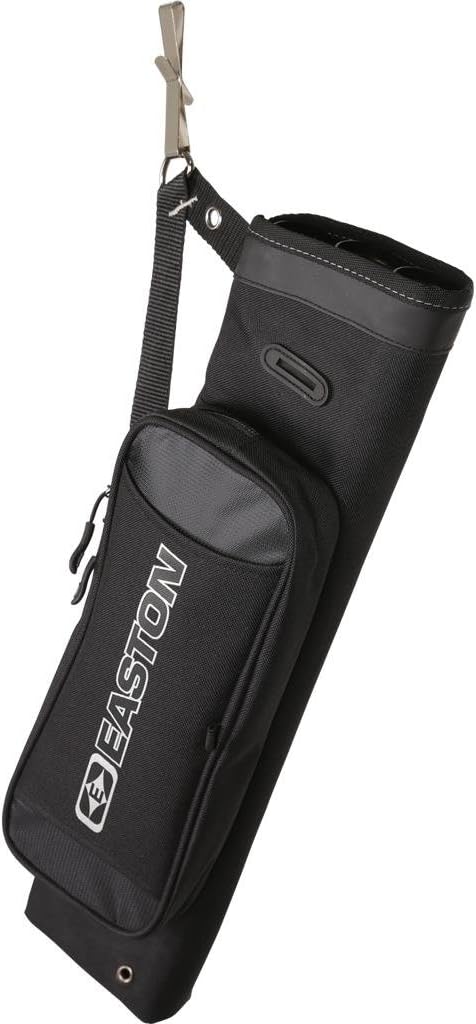
The Easton Flipside 3-Tube Hip Quiver is a fantastic option for beginners who prefer a hip quiver for easy access to their arrows. This quiver comes with three separate tubes to help keep your arrows organized, and it attaches easily to your belt or waistband. The quiver is also reversible, so it can be worn on either side, which is great whether you’re left-handed or right-handed.
I found this quiver particularly useful for target practice, as it allows me to quickly grab arrows without having to reach over my shoulder. It’s lightweight, durable, and offers plenty of room for arrows without feeling bulky. The multiple tubes help you organize your arrows, making it perfect for long practice sessions.
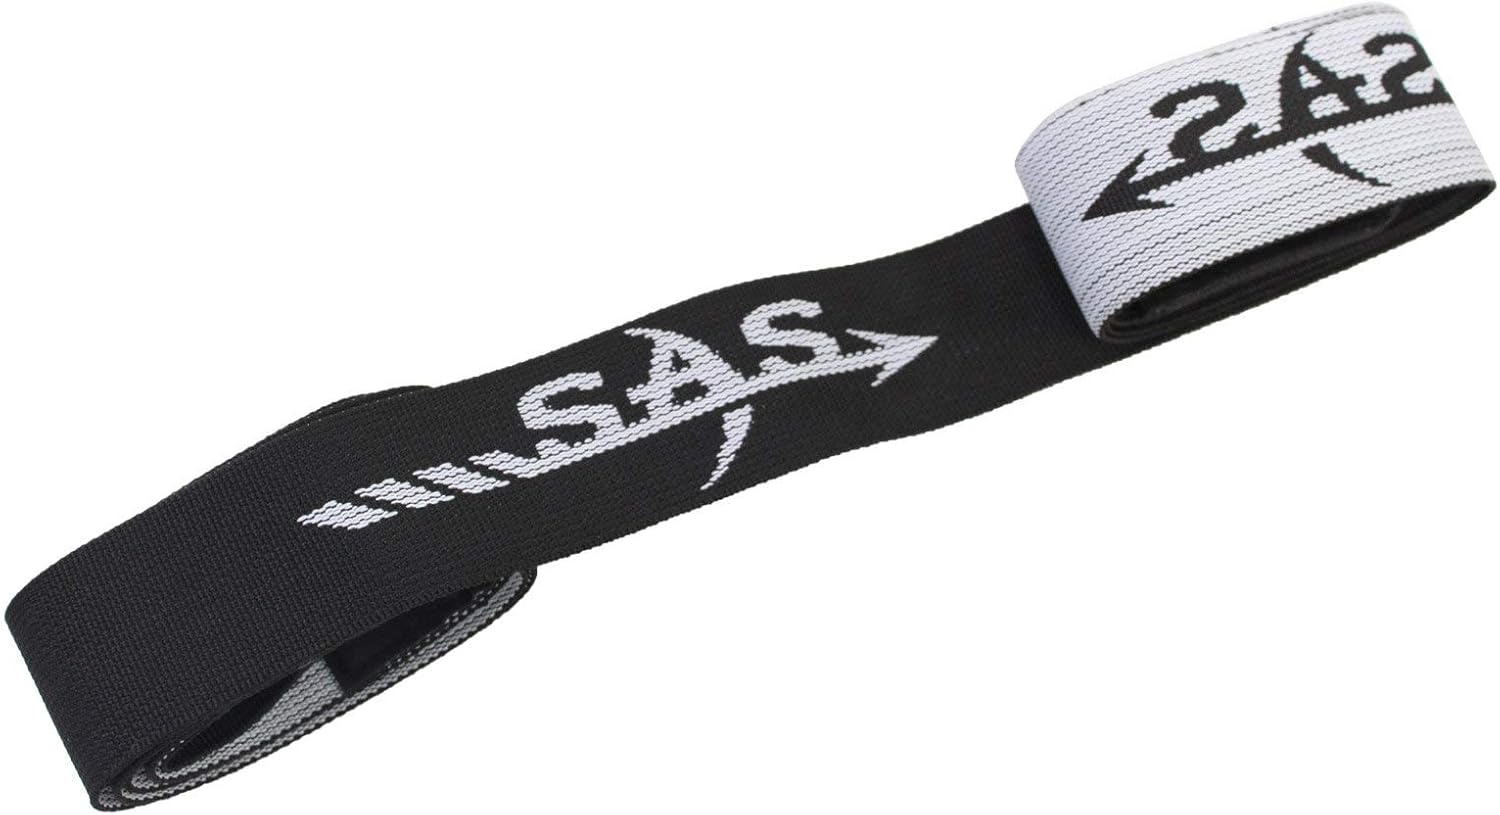
The SAS Takedown Bow Stringer is a must-have tool for safely stringing and unstringing your recurve or longbow. Made from strong nylon, it ensures that the tension is evenly distributed while stringing, preventing potential damage to your bow and keeping you safe. The rubber limb tips grip securely, making the process smooth and easy.
From personal experience, using this bow stringer made the process of stringing my recurve bow so much easier and stress-free. For beginners, it’s essential to have a reliable stringer to avoid damaging your bow or risking injury. The SAS Takedown Bow Stringer is affordable and does the job perfectly, making it a no-brainer for any beginner archer.
These four accessories will greatly enhance your archery experience by providing comfort, protection, and convenience. Investing in quality gear ensures that you can focus on improving your skills and enjoying the sport without worrying about discomfort or equipment issues.
Mastering the basics of form and technique is crucial to becoming a skilled archer. Good form not only helps you shoot more accurately but also prevents injuries and ensures consistency. Let’s break down the essential steps for developing a strong foundation in archery.
The first step to shooting accurately is having a solid stance. Your stance provides the base for the rest of your form, so getting it right from the beginning is essential.
Shoulder-Width Apart: Stand with your feet about shoulder-width apart. This gives you balance and stability. Your weight should be evenly distributed on both feet, and you should feel grounded but relaxed.
Perpendicular to the Target: Stand sideways to the target, with your non-dominant shoulder pointing toward it. Your body should form a straight line to the target. This is called the square stance and is the most common stance for beginners. There’s also the open stance, where you angle your front foot slightly toward the target, but it’s best to start with the square stance until you get comfortable.
Relax Your Knees: Don’t lock your knees. Keep them slightly bent and relaxed to allow for better balance and flexibility when shooting.
“Nocking” the arrow simply means placing the arrow on the bowstring. It’s important to get this step right to ensure that your shots are consistent and safe.
Grip the Bow: Hold your bow with your non-dominant hand. Keep your grip loose but firm, allowing the bow to move naturally as you draw and release. A tight grip can cause the bow to twist, leading to inaccurate shots.
Place the Arrow on the Rest: Lay the arrow on the arrow rest, which is a small piece on the bow’s riser that holds the arrow in place. Make sure the arrow’s fletchings (feathers or vanes) are positioned correctly—one fletching should be pointing away from the bow.
Clip the Nock to the String: The nock (the small notch at the back of the arrow) should fit snugly onto the bowstring. Most arrows have a small indicator, called the index fletching, which should face upward to ensure proper alignment. The nock should “click” onto the string securely, but not so tightly that it’s difficult to remove.
Drawing the bowstring properly requires both strength and technique. Doing this step correctly is key to shooting with power and accuracy.
Hook Your Fingers Around the String: Use three fingers—your index, middle, and ring finger—to hook the string below the arrow nock. This is known as the Mediterranean draw and is the most common technique for beginners. The string should rest in the first joint of each finger.
Raise the Bow: As you hook the string, raise your bow arm to shoulder height. Keep your elbow slightly bent and your bow hand relaxed.
Pull the String Back: Draw the bowstring back toward your face in one smooth motion, using your back muscles rather than just your arms. As you draw, keep your elbow high and in line with the arrow. Pull the string until it reaches your anchor point—a consistent spot on your face, such as the corner of your mouth or the tip of your nose. This ensures that each shot is released from the same position, improving accuracy.
The anchor point is where the bowstring touches your face when you’re fully drawn. It’s one of the most critical aspects of archery technique because it helps you shoot consistently.
Choose a Natural Spot: Your anchor point should feel natural and comfortable, like the corner of your mouth or the side of your chin. Many archers use the tip of their nose or the corner of their lips as an anchor point.
Stay Consistent: It’s essential to use the same anchor point every time you shoot. This consistency will help you develop muscle memory and improve your accuracy over time.
Aiming in archery is both an art and a science. As a beginner, learning to aim properly will take some time and practice.
Focus on the Target: Use your dominant eye to focus on the target. If you’re using a bow sight, align the sight pin with your target. Without a sight, you’ll rely on instinctive shooting, where you develop a feel for where the arrow will go based on your practice.
Keep Both Eyes Open (If Possible): Many archers shoot with both eyes open to maintain a wider field of view and better depth perception. However, if this feels unnatural, you can close your non-dominant eye to focus more directly on the target.
Maintain Your Form: While aiming, remember to keep your stance solid and your grip relaxed. It’s easy to get tense while aiming, but staying relaxed will improve your accuracy.
Releasing the string is one of the most crucial moments in the shot. A smooth release ensures that the arrow flies straight and true, while a jerky or uneven release can throw off your aim.
Relax Your Fingers: Instead of actively “letting go” of the string, you want to think of it more as relaxing your fingers. This allows the string to slip off smoothly, without causing any sideways movement that could affect the arrow’s flight.
Follow Through: After releasing the string, it’s important to maintain your form for a few moments. This is called the follow-through, and it prevents any sudden movements that could affect the shot’s accuracy. Your drawing hand should naturally move backward after the release, and your bow arm should stay steady.
The follow-through is often overlooked by beginners, but it’s essential for consistent, accurate shooting. Here’s what to focus on after the release:
Hold Your Position: After the arrow is released, hold your stance and keep your eyes on the target until the arrow hits. This helps ensure that your body doesn’t move or shift, which could affect your shot.
Check Your Form: Once the shot is complete, mentally review your form. Was your stance solid? Did you release the string smoothly? Over time, this self-check will help you identify areas to improve and develop better habits.
Learning the basics of form and technique is the foundation of archery success. By practicing these steps consistently, you’ll build muscle memory and gradually improve your accuracy and confidence. Remember that mastering archery takes time, so be patient with yourself, and don’t be afraid to make adjustments as you go. With practice, you’ll develop the skills needed to hit the target every time.
For most beginners, a recurve bow is a great starting point. It’s simple to use, lightweight, and perfect for target practice. If you’re looking for a bow that’s easy to maintain and can grow with your skill level, a takedown recurve bow like the Samick Sage is a great option. For those interested in hunting or more advanced shooting, a compound bow might be worth considering.
To determine the correct arrow length, measure your draw length. This is done by standing with your arms extended outward in a “T” shape and measuring the distance between your fingertips. Divide this number by 2.5 to get your draw length. The ideal arrow should be about 1-2 inches longer than your draw length to ensure safety and accuracy.
An arm guard protects your forearm from getting hit by the bowstring when you release an arrow. String slap can be painful and cause bruising, especially for beginners still perfecting their form. An arm guard provides comfort and prevents injury, allowing you to focus on your technique.
A finger tab or archery gloves protect your fingers from the strain of repeatedly drawing the bowstring. Without protection, your fingers can become sore or develop blisters. Finger tabs are small and simple, while gloves provide full-hand coverage—both options help improve comfort during shooting.
Improving accuracy takes consistent practice and attention to your form and technique. Start by mastering the basics, such as a solid stance, proper arrow nocking, and a smooth draw and release. Consider using a bow sight to help aim, and practice at shorter distances before gradually increasing your range.
Yes, especially if you are using a recurve or longbow. A bow stringer helps you string and unstring your bow safely and evenly. Without it, you could damage the bow or string, and risk injury. It’s a simple tool that makes the process much easier and safer.
Consistency in archery comes from finding and sticking to a reliable anchor point, maintaining the same stance, and using proper release techniques every time you shoot. Regular practice helps build muscle memory, and using the same form and technique ensures more consistent shots over time.
The must-have accessories for beginners include:
As with any skill, regular practice is key to improvement. Start with shorter, more frequent practice sessions—30 minutes to an hour, a few times a week. Focus on perfecting your form and consistency rather than the number of arrows you shoot. As you progress, you can extend your practice sessions and increase your range.
Yes, archery is safe as long as you follow proper safety guidelines. Always shoot in a designated archery range or a clear, open space. Make sure no one is in your shooting path, and check your equipment regularly for any signs of wear or damage. Wearing protective gear like an arm guard and using a bow stringer for stringing can also help prevent injuries.
| Cookie | Duration | Description |
|---|---|---|
| cookielawinfo-checbox-analytics | 11 months | This cookie is set by GDPR Cookie Consent plugin. The cookie is used to store the user consent for the cookies in the category "Analytics". |
| cookielawinfo-checbox-functional | 11 months | The cookie is set by GDPR cookie consent to record the user consent for the cookies in the category "Functional". |
| cookielawinfo-checbox-others | 11 months | This cookie is set by GDPR Cookie Consent plugin. The cookie is used to store the user consent for the cookies in the category "Other. |
| cookielawinfo-checkbox-necessary | 11 months | This cookie is set by GDPR Cookie Consent plugin. The cookies is used to store the user consent for the cookies in the category "Necessary". |
| cookielawinfo-checkbox-performance | 11 months | This cookie is set by GDPR Cookie Consent plugin. The cookie is used to store the user consent for the cookies in the category "Performance". |
| viewed_cookie_policy | 11 months | The cookie is set by the GDPR Cookie Consent plugin and is used to store whether or not user has consented to the use of cookies. It does not store any personal data. |